

Imagine a ball rolling toward a hill. If it does not have enough energy to reach the top, it rolls back down. Every time. That is how classical physics works. A ball cannot cross a hill unless it has enough energy to get over it. Now make that ball as tiny as an electron. Send it toward a barrier it lacks enough energy to cross. Something strange happens. Sometimes, the electron appears on the other side. It does not go around the barrier. It does not climb over it. Somehow, it passes through a barrier that classical physics says should stop it. This strange effect is called quantum tunneling. It is one of the most fascinating and well-tested phenomena in modern physics. It may sound like magic, but it is real. Scientists can measure it, predict it, and use it in real-world technology. In fact, quantum tunneling quietly plays a role in many things around us, from the energy produced inside the Sun to the flash drive in your pocket. But how can a particle cross a barrier when it does not have enough energy? To understand that, we first need to see why it should be impossible in classical physics. What Is Quantum Tunneling? Quantum tunneling is a strange quantum effect. It allows a particle to pass through an energy barrier even when it does not have enough energy to cross it by classical rules. At first, this sounds impossible. Yet, quantum mechanics allows it. In fact, quantum tunneling is a clear example of the differences between the quantum world and the world we experience every day. Why Classical Physics Says It Should Not Happen In classical physics, energy acts like a strict gatekeeper. A particle needs enough kinetic energy to overcome a barrier. If the barrier has more energy than the particle, the particle cannot cross it. The barrier simply stops or reflects the particle. This rule works perfectly for everyday objects. A car cannot climb a hill if it lacks enough energy. A ball cannot roll over a wall that is too high. A billiard ball also bounces back when it hits a barrier it cannot overcome. So, according to classical physics, there is no way through. What Quantum Mechanics Changes Quantum mechanics gives us a very different picture. It does not describe tiny particles as simple billiard balls with fixed paths. Instead, it describes them using a wavefunction. The wavefunction spreads through space. When a particle reaches an energy barrier, its wavefunction does not suddenly stop at the barrier. Instead, part of it can extend into and even beyond the barrier. And this leads to the key idea. Wherever the wavefunction has a non-zero value, there is a chance of detecting the particle. The particle might not have enough classical energy to cross the barrier. Despite this, there can still be a small probability of finding it on the other side. Why “Tunneling” Is Only an Analogy The word tunneling can create the wrong picture. It may sound as if a particle digs through a solid barrier like a mole. But that is not what happens. The particle does not drill a hole. It does not melt the barrier. It does not push the material aside. Instead, its wavefunction extends through the barrier and can reach the other side. If that part of the wavefunction is large enough, we have a chance of detecting the particle there. That is why scientists call it quantum tunneling. The name describes the effect, but the particle does not literally tunnel through a wall. How Does Quantum Tunneling Work? This is where the real mechanics of quantum tunneling come in. It explains how something that seems “weird” can actually become predictable. Particles Behave Like Quantum Waves Every particle also has a wave-like nature. The Schrödinger equation describes this behavior. Instead of giving a particle one fixed position, quantum mechanics describes it with a wavefunction. The wavefunction tells us where the particle might be found. More precisely, the square of the wavefunction’s amplitude gives the probability of finding the particle at a particular location. What Happens When the Wavefunction Meets a Barrier? Now imagine the particle moving toward a potential barrier. The barrier has more energy than the particle. According to classical physics, the particle should stop at the barrier. It does not have enough energy to cross it. Quantum mechanics, however, gives us a different result. When the wavefunction reaches the barrier, part of it reflects. But another part enters the barrier itself. That is the first key to understanding quantum tunneling. Why Doesn’t the Wavefunction Immediately Become Zero? Inside the barrier, the wavefunction behaves differently. It does not keep oscillating as it does in open space. Instead, it decays exponentially. In simple terms, it gets smaller and smaller as it moves through the barrier. However, it does not instantly become zero. As long as the barrier has a limited width, a small part of the wavefunction can survive all the way through it. Why Is There Still a Probability Beyond the Barrier? This is where tunneling happens. The wavefunction does not completely disappear before reaching the other side. So, when the barrier ends, a small part of the wavefunction can emerge beyond it. That creates a nonzero probability of finding the particle on the other side. The particle didn’t have enough energy to cross the barrier according to classical physics. Yet quantum mechanics allows it to appear beyond the barrier. That is the basic mechanism behind quantum tunneling. What Determines the Probability of Quantum Tunneling? Quantum tunneling does not happen with the same chance every time. Several factors decide how likely a particle is to tunnel through a barrier. Four factors matter most. 1. Barrier Width The width of the barrier plays a major role. A wider barrier gives the wavefunction more space to decay. As a result, the tunneling probability falls exponentially as the barrier gets wider. Even a small increase in thickness can make tunneling extremely

Diffusion Models Explained: The Technology Behind AI Image Generation
Artificial intelligence can now create images that look almost indistinguishable from photographs. From photorealistic portraits to fantastical landscapes, AI-generated pictures have become part of everyday digital life. At the heart of this revolution sit diffusion models, the technology that powers systems like Stable Diffusion, DALL·E, and Midjourney. Understanding diffusion models explained in clear terms reveals why these systems produce such high-quality results and how they differ from earlier approaches. This article walks through the core ideas, the step-by-step process, real-world uses, limitations, and what comes next, giving you a complete picture of the technology behind modern AI image generation. What Are Diffusion Models? Diffusion models are a type of generative AI model that creates new content by reversing a gradual noising process. Instead of generating an image all at once, they begin with pure random noise. Then, step by step, they remove the noise until a clear and realistic image appears. The idea behind diffusion models is simple but highly effective. During training, the model observes real images as they slowly become covered with random noise. At the same time, it learns how to reverse each step of that process. As a result, once the training is complete, the model can start with nothing but random noise and gradually transform it into a completely new image that looks similar to the images it learned from. These models are called diffusion models because the noising process is similar to physical diffusion in nature. For example, imagine dropping ink into a glass of water. At first, the ink stays in one place. However, it slowly spreads until the color becomes evenly mixed throughout the water. Diffusion models imitate this behavior by gradually spreading noise across an image. Then, they reverse the process to organize that noise into meaningful shapes, patterns, and details. A simple real-world example is restoring an old photograph. Imagine you have a clear photo that slowly fades over time and becomes covered with static. If you carefully study how the damage happens, you can learn how to repair it step by step. Diffusion models work in a similar way. However, instead of restoring an existing photo, they learn how to turn pure static into completely new and realistic images. The Evolution of AI Image Generation Before we explore why diffusion models are a game-changing technology, let’s first understand the methods that came before them. 1. Early Image Generation Techniques Early AI image generation used rule-based systems and simple statistical models. These early systems could create only basic textures and patterns. However, they could not understand objects, faces, or real-world scenes. As a result, the images looked abstract and unrealistic. They were not useful for serious creative work or commercial applications. 2. Variational Autoencoders (VAEs) Variational Autoencoders (VAEs) first appeared in the early 2010s. They were among the first AI models that could generate images by learning from data. A VAE works by compressing an image into a small set of numbers, known as a latent representation. It then uses this compressed information to rebuild the original image. This approach was a major breakthrough at the time. However, VAEs often produced blurry images. That’s because the model tends to smooth out small details to maintain mathematical stability. 3. Generative Adversarial Networks (GANs) In 2014, GANs changed AI image generation forever. They introduced a new approach that used two neural networks working against each other. The first network, called the generator, creates fake images. The second, known as the discriminator, checks whether those images are real or fake. As both networks compete, they keep improving. Over time, this process helps the generator create highly realistic and detailed images. For several years, GANs became the leading technology for AI image generation. They powered advanced models like StyleGAN, which can produce incredibly realistic human faces. However, GANs also had a major drawback. Training them was often difficult and unstable. Both networks had to improve at the right pace. If one became much stronger than the other, the training process could fail. As a result, GANs often suffered from a problem called mode collapse. Instead of creating a wide variety of images, the generator produced many images that looked almost the same. This limited the diversity of the final results. 4. The Birth of Diffusion Models The idea behind diffusion models first appeared in a 2015 research paper. The paper used concepts from non-equilibrium thermodynamics to build generative AI models. However, the technology was not practical at that time. Everything changed in 2020 when researchers introduced Denoising Diffusion Probabilistic Models (DDPM). This breakthrough showed that diffusion models could generate images with quality equal to, and later even better than, Generative Adversarial Networks (GANs). Why Diffusion Models Became the New Standard Diffusion models solved many of the biggest challenges in generative AI at the same time. Unlike GANs, they have a much more stable training process because they do not rely on two competing networks. As a result, they are easier to train and produce more reliable results. In addition, diffusion models create a wider variety of images. They start with random noise, but the denoising process can follow many different paths. This allows the same starting point to generate many unique outputs. Because of these strengths, diffusion models quickly became the foundation of AI image generation. Their excellent text-to-image performance also played a major role. By 2022, they powered popular tools such as DALL-E 2, Midjourney, and Stable Diffusion, making AI-generated images more realistic and accessible than ever. How Diffusion Models Work At a high level, diffusion models follow five main steps during training and image generation. Once you understand this process, the rest of the technology becomes much easier to follow. Step 1: Start with a Real Image The process begins with a large collection of real images. These images can include photographs, digital artwork, or illustrations. During training, each image acts as a reference example. It teaches the model what a clear, realistic, and meaningful image should look like. Step 2:
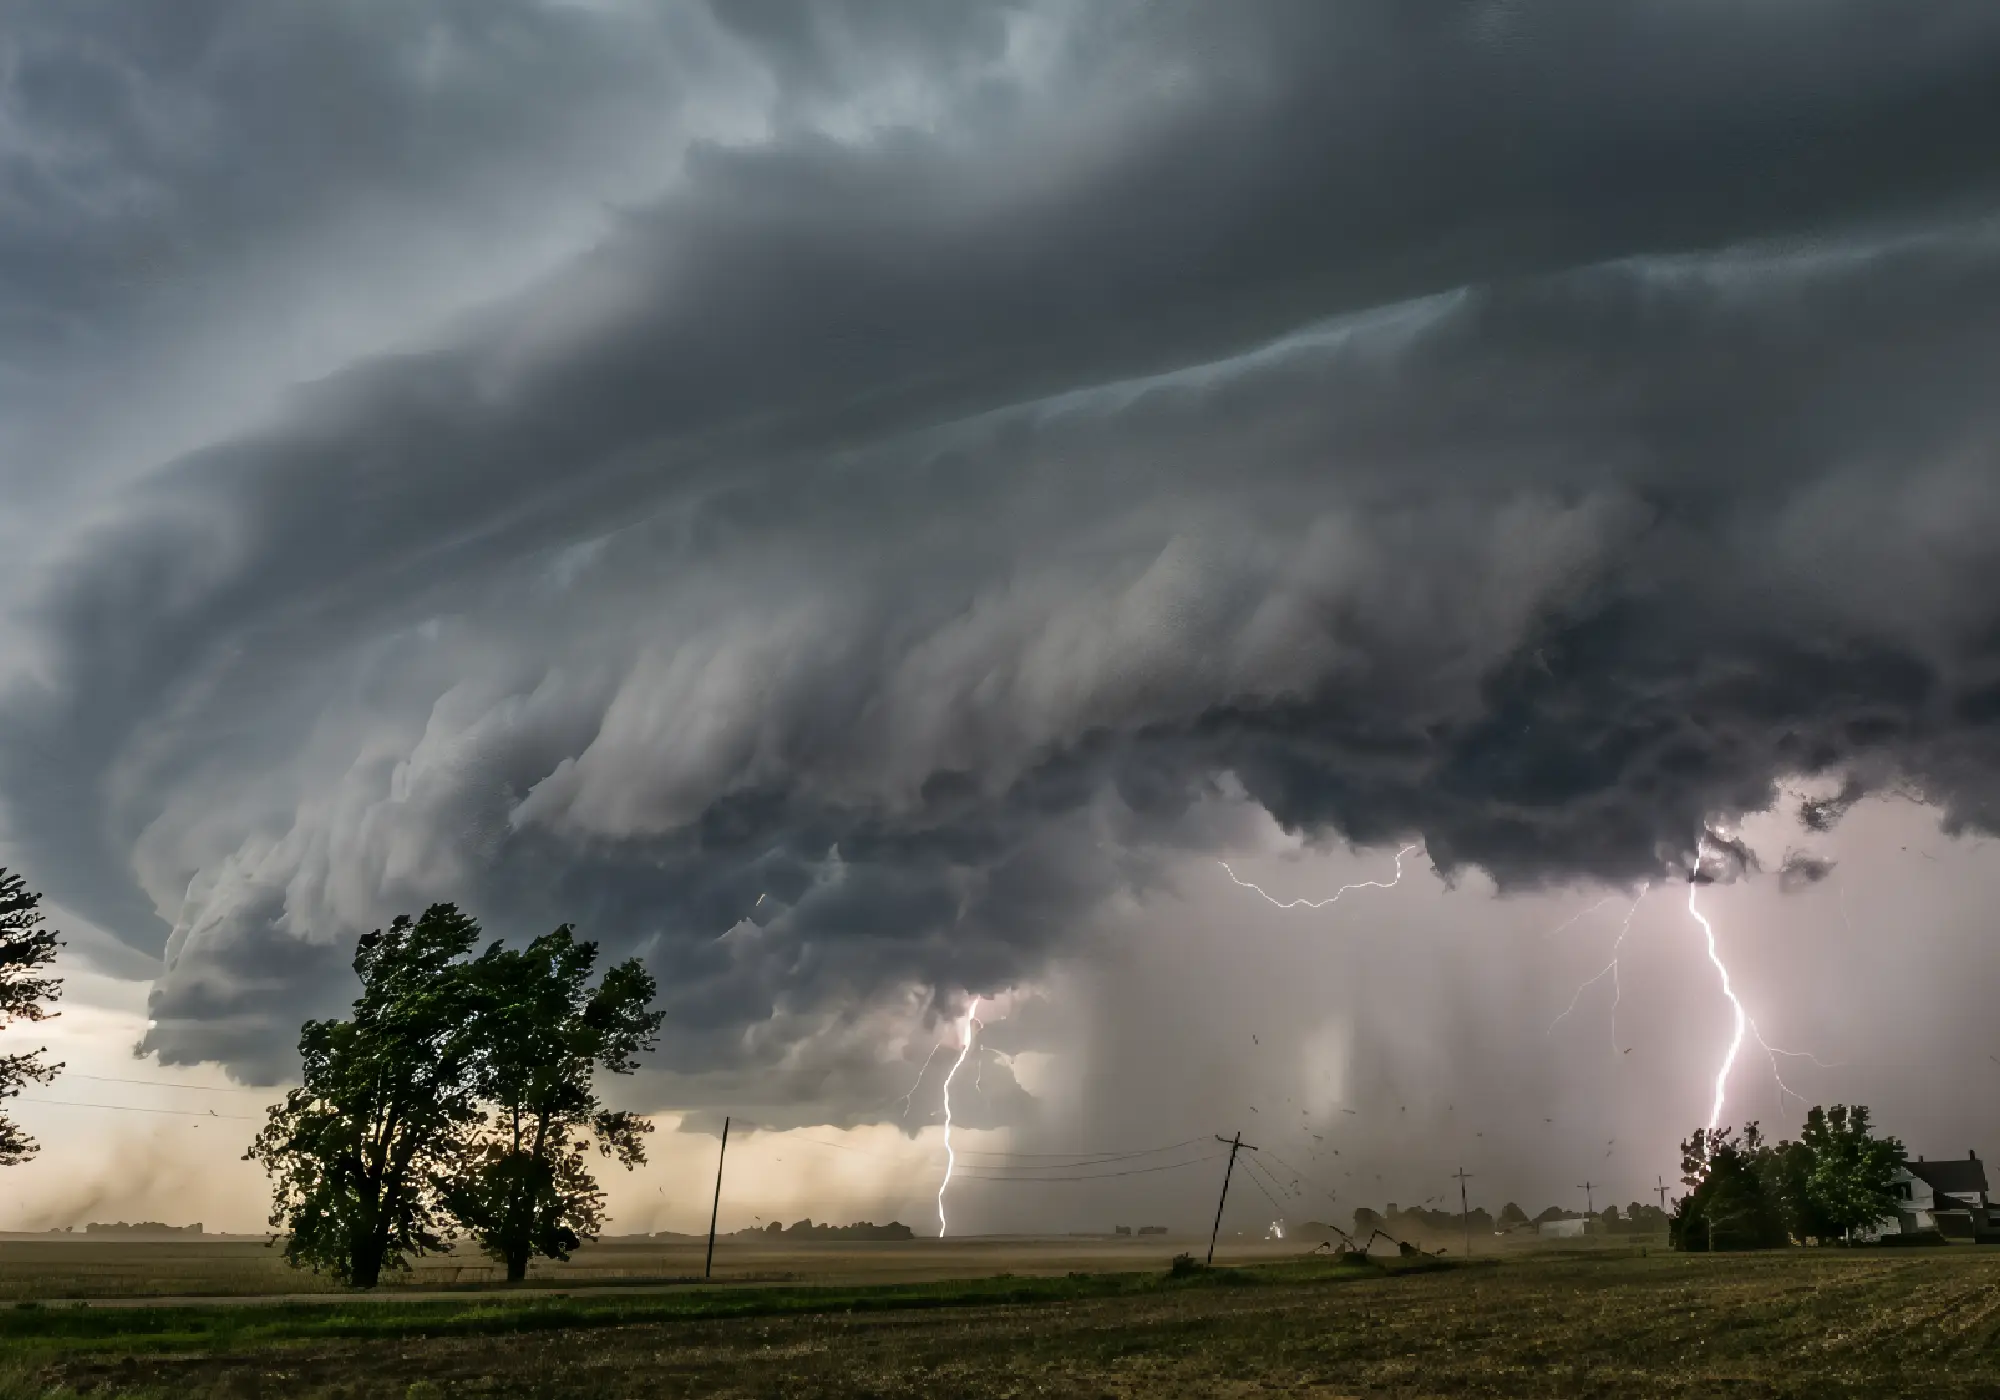
Derecho Explained: The Science Behind Nature’s Most Powerful Straight-Line Wind Storms
On August 10, 2020, a wall of wind tore across the American Midwest with almost no warning. In just 14 hours, it traveled 770 miles from South Dakota to Ohio, flattened millions of acres of corn and soybeans, and produced gusts as high as 140 mph in Cedar Rapids, Iowa. Many residents assumed a tornado had hit them. It hadn’t. What struck the Midwest that day was a derecho — and by the time it dissipated, it had caused an estimated $11 billion in damage, the costliest thunderstorm event in U.S. history. If you’ve never heard “derecho” before a headline like that, you’re not alone. Despite being one of the most destructive thunderstorm systems on Earth, derechos remain widely misunderstood. People often mistake them for tornadoes because the damage looks similar — snapped trees, flattened crops, torn-off roofs — but the physics couldn’t be more different. Tornadoes rotate. Derechos don’t. They travel in a straight line, sometimes for hundreds of miles, hitting entire regions with hurricane-force winds all at once rather than along a narrow, twisting path. In this guide, you’ll learn exactly what a derecho is and how it forms step by step. You will find out why it’s so destructive. You’ll also compare it to tornadoes and hurricanes. Learn how to stay safe when one is bearing down on your area. What Is a Derecho? A derecho is a long-lived, widespread windstorm produced by a fast-moving band of severe thunderstorms. It delivers destructive straight-line winds that can stretch for hundreds of miles. Scientific Definition Meteorologists define a derecho as a family of downburst clusters linked to a mesoscale convective system (MCS) that produces a continuous or nearly continuous swath of damaging winds. Standard criteria require wind gusts of at least 58 mph (50 knots) along a path of roughly 240–400 miles or more, lasting at least six hours in many definitions. Recent physically based definitions emphasize radar features such as bow echoes and damage paths at least 60 miles wide and 400 miles long. Why Is It Called a “Derecho”? The word “derecho” comes from Spanish and means “straight” or “direct.” In the 1880s, Iowa professor Gustavus Hinrichs studied severe wind damage and noticed that many storms produced straight-line destruction rather than the swirling patterns of tornadoes. He proposed the term “derecho” to distinguish these events from tornadoes (from the Spanish word for “turned”). The name stuck and is now used worldwide by meteorologists. What Conditions Are Needed for a Derecho to Form? Derechos don’t appear out of nowhere. They need a specific combination of atmospheric ingredients working together, usually during the warm months when the atmosphere holds the most energy. 1. Warm, Moist Air Derechos typically form when a deep layer of warm, humid air sits near the surface. This moisture fuels the storm — as it rises and condenses into clouds, it releases latent heat that powers the updrafts. 2. Atmospheric Instability Instability describes how eager warm air is to keep rising once it starts. When the atmosphere is highly unstable — measured using CAPE, or Convective Available Potential Energy — thunderstorms can grow explosively tall and strong. 3. Wind Shear Wind shear is the change in wind speed and direction with height. Moderate to strong shear helps organize individual thunderstorms into a coordinated, self-sustaining line rather than a cluster of short-lived cells — essential for a system to survive long enough to become a derecho. 4. Strong Thunderstorms Individual thunderstorms need to be intense enough to generate powerful downdrafts — columns of sinking air that crash into the ground and spread outward. These outflow winds are the direct source of a derecho’s damage. 5. Formation of a Mesoscale Convective System (MCS) When these ingredients align, individual thunderstorms merge into a mesoscale convective system: a large, organized cluster or line of storms spanning tens to hundreds of miles. Most derechos develop from a specific type of MCS known as a bow echo. How Does a Derecho Form? Understanding a derecho’s life cycle makes the whole phenomenon much less mysterious. Here’s how one typically develops, from the first rising air parcel to hundreds of miles of wind damage. Stage 1: Warm Air Begins Rising The process starts when surface heating or an approaching disturbance forces warm, moist air upward. As it rises, it cools and condenses into towering cumulus clouds. Stage 2: Thunderstorms Develop Individual thunderstorms form and organize, often triggered along a front, dryline, or outflow boundary. In a favorable environment with strong instability and shear, they grow quickly. Stage 3: Downdrafts Strengthen Inside mature thunderstorms, precipitation drags cool air downward, creating powerful downdrafts. As these reach the surface, they spread out in all directions — the beginning of damaging straight-line winds. Stage 4: Cold Pool Forms Merging downdrafts create a pool of cool, dense air at the surface. This cold pool acts like a wedge, plowing under the warm air ahead of it and forcing new thunderstorm development along the leading edge. Stage 5: Bow Echo Appears As the cold pool strengthens and the line accelerates, radar reflectivity often takes on a distinctive bowed shape — a bow echo — because the center of the line, pushed by the strongest downdrafts, moves faster than the flanks. Stage 6: Rear-Inflow Jet Accelerates Winds Behind the bow echo, a rear-inflow jet develops: air racing toward the leading edge at altitude, then descending toward the surface. When it reaches the ground, it dramatically boosts wind speeds, often producing the storm’s most extreme gusts. Stage 7: Long-Lived Straight-Line Wind Event If the system keeps regenerating storms along its leading edge while sustaining its cold pool and rear-inflow jet, it can keep damaging winds for hours across hundreds of miles, officially becoming a derecho. What Makes Derechos So Destructive? Straight-Line Winds Because derecho winds move in one general direction rather than rotating, they strike everything in their path with similar force at roughly the same time, creating widespread, simultaneous damage rather than the localized destruction typical of a tornado.

Simplifying Organic Reaction Mechanisms with Photoredox Catalysis
I am excited to tell you that how photoredox catalysis is changing the organic synthesis. This is a method that uses light energy to simplify reactions. It reduces waste and steps, so in this way synthesis becomes environment-friendly and cost-effective. C-H bond functioning is important to use. Because it plays a crucial role in reducing waste and increasing synthesis efficiency. In this whole process, Photoredox catalysts are a powerful tool. Nickel catalysts were very helpful, when I found them while searching for photoredox catalysts. They possess the capability to imitate palladium and change their oxidation states. This creates different redox pathways to work. The Xantphos ligand increases the product yield from 17% to 83%. This shows the importance of the right ligand. The use of photoredox catalysts helps reactions run simpler and creates more specific outcomes while being more efficient. I want to present professional guidance about applying photoredox catalysis to organic synthesis. It is all about its principles and applications. Chemists can achieve success and could create new compounds by understanding photoredox catalysis. Photoredox catalysis is a new way of transforming organic synthesis. As it simplifies the complex reactions, they are important in the future. Fundamentals of Photoredox Catalysis Photocatalytic reactions are important in photoredox catalysis. At the same time, it is important to know how it works. Photocatalysts absorb the light and create the excited states that react with the substrate. The light source determines both performance and selectivity levels in reaction processes. A photoredox system includes three essential components: a photocatalyst together with a substrate and illumination through a light source. The light-absorbing photocatalytic system starts the electron transit process. The substrate is the molecule that changes, and light is the source that provides the energy required in the reaction. The table below shows the main parts of a photoredox system and what is their role: Component Role Photocatalyst Absorbs light and facilitates electron transfer Substrate Undergoes the desired transformation Light Source Provides energy to drive the reaction A summary requires knowledge of photoredox system elements and photocatalytic reaction principles. Researchers achieve efficient and selective reactions through proper selection of photocatalyst, substrate, and light source. These reactions can boost the organic synthesis. Essential Equipment and Setup for Photoredox Reactions Right equipment is crucial in photoredox reactions. The light source, the reactor, and the photocatalyst greatly affect the results of the reactions. Lucent 360 photoreactor fits various vial sizes. The Photoredox Duo can hold up to 16 vials of 2 ml, 4 ml or 8 ml. Photoredox Box TC is important in temperature-controlled setups. The reaction can take place within a temperature range between 0°C and 80°C using this method. With their powerful design, the EvoluChem LED lamps deliver excellent control alongside high reproducibility. The reaction shows distinct changes due to the variation of light wavelength. Major setup considerations include: Modern LEDs and temperature-controlled reactors offer control and reproducibility. I becomes easier to scaleup the reaction and obtain consistent results. Few examples are collected here in the table below. Photoreactor Reaction Vial Size Temperature Control Lucent360 0.3 ml, 2 ml, 4 ml, 8 ml, 20 ml No PhotoRedOx Duo 2 ml, 4 ml, 8 ml No PhotoRedOx Box TC Varies Yes (0°C to 80°C) The Role of Photoredox Catalysis in Modern Organic Synthesis Modern organic synthesis vastly depends on photoredox catalysts for its essential operational requirements. Organic synthesis scientists have utilized this procedure for 40 years since it saw major improvement during the late 2000s period. The method provides improved efficiency together with selectivity and stability, outmatching traditional approaches. Now it is an important choice for today’s organic synthesis. Photoredox catalysis is equally important in sustainable chemistry. It helps in creating greener and cheaper synthetic methods. Some major benefits are the following: Photoredox catalysis has become an essential part of organic synthesis. Its role in green chemistry and economical synthesis is very useful. Common Photoredox Catalysts and Their Applications Finding photoredox catalysis is really exciting. Presently we observe numerous catalysts producing efficient results. The simplification of organic chemical reactions depends heavily on titanium-based compounds and their variants, titanium dioxide and titanocene. Fine chemicals, along with medicines, represent applications in which catalysts find use. They demonstrate truly outstanding abilities. The selection of the right catalyst depends upon the reaction and the target. Titanium dioxide is being studied in water treatment for purification. In photoredox catalysts, new catalysts like gold and iridium complexes are being considered. They look very promising to me. Scientists are always working to find catalysts that could work at low temperatures. Photocatalysis is a special catalyst because it works well at low temperatures. It also produces fewer waste products. As research continues, photoredox catalysts will become more important. They will help in shaping the future of organic syntheses. Troubleshooting Your Photoredox Reactions Utilizing photoredox reactions requires special operational skills. Working with photoredox reactions may present two main operational difficulties, which include selectivity challenges along with low yield production rates. Your ability to succeed against these obstacles will demand changes to both the illumination devices and reactor structures and the selection of catalysts. Safety plays an essential role during photoredox reactions. Some dangerous chemicals and light sources are required. Knowledge about potential risks enables proper safety measures that produce successful results. If we improve the reaction conditions, the results can be different. For example, it can increase the production of the desired products from 31% to 79%. Photoredox catalysts make reactions efficient, use less energy, and reduce the unwanted byproducts. Researchers use various strategies to overcome these challenges. They may check different chiral bisoxazoline ligands or even adjust the reaction time. And I believe these changes can improve the quality and purity of the products. Advanced Techniques in Photoredox Catalysis Researchers are working very hard to improve photoredox catalysts. Multiple studies explore improved strategies for photoredox catalyst development. Typically their methodology relies on two different catalysts. The method functions optimally within flow chemistry because of its continuous system. The method accelerates reactions and improves their operational efficiency.